Determining the Perfect Beam Height for Your Composite Deck
Technical note: Installation details vary by municipality, product line, board profile, fastening system, loads, and site conditions. Use this article as general guidance only; confirm the final design with your local building department, the manufacturer's current installation guide, and a qualified contractor or engineer when structural loads are involved.
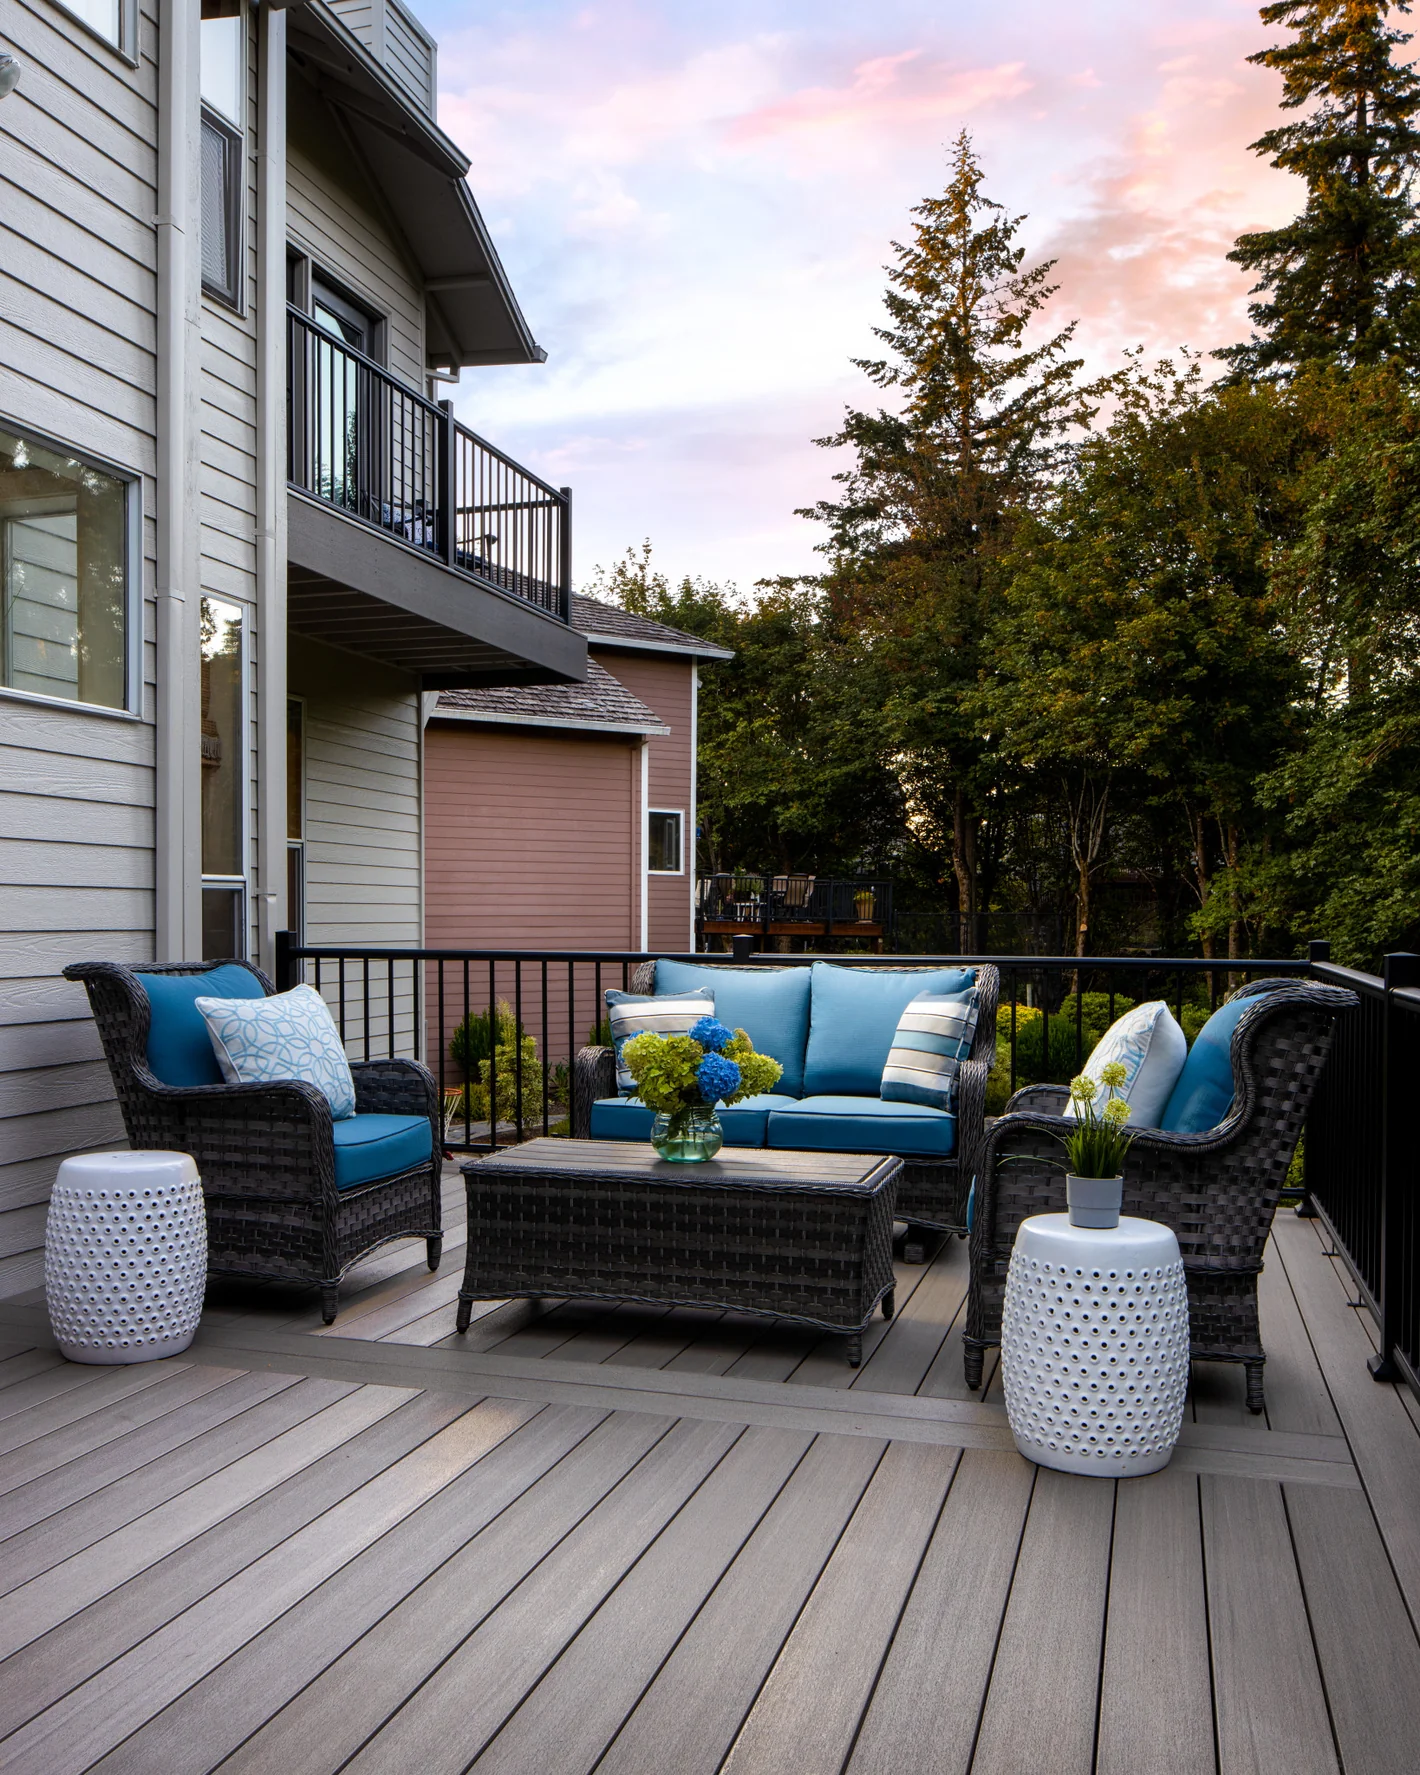
In Quebec, building a durable composite deck starts with a solid structure. Beam height is a crucial step in your outdoor living space design. Whether you're using Fiberon, TimberTech, Trex, or TruNorth boards, precise calculations ensure a seamless assembly and optimal drainage. In this guide, we break down each step to help you install your beam at the ideal height, avoiding leveling and water drainage issues.
Step 1: Install the Ledger Board and Support Posts
The first step is to attach the ledger board to the house wall. Make sure the ledger board is perfectly level and securely anchored to the structure. Then, position the support posts at the intended location for the beam. These posts will bear the load of the composite deck and must be set perfectly straight, on concrete footings or pads suitable for Quebec winters.
Step 2: Measure with a String and Level
Once the ledger board and support posts are in place, stretch a string between the top of the ledger board and the top of the posts. Use a spirit level or a laser level to ensure the string is perfectly horizontal. Mark the position corresponding to the top of the beam on the string. This method ensures a uniform reference along the entire length of your future composite deck.
- Tools required: strong string, spirit level, carpenter's pencil
- Pro Tip: check the string tension to avoid any sagging during measurement
Step 3: Subtract the Thickness of the Beam and Connectors
To get the net height of the beam, you need to subtract the thickness of the beam material itself, as well as the connecting hardware between the beam and the posts (connectors, joist hangers, plates). For example, if your composite beam is 2" thick and the support bracket is 1/2", subtract these values from your mark on the string. This precision is essential for a tight assembly and a perfectly flat deck surface.
Step 4: Incorporate Slope for Drainage
To ensure optimal drainage for your deck and prevent water stagnation under the surface of Fiberon, TimberTech, Trex, or TruNorth boards, use a light slope, typically 1/8" to 1/4" per foot when the manufacturer, waterproofing system, or drainage detail calls for it, sloped away from the house. This slight incline allows water to flow naturally outwards and preserves the durability of your outdoor living space.
- Slope Ratio: 1/8" to 1/4" per foot, depending on the system, exposure, and manufacturer instructions
- Marking: use a chalk line to mark the cut line on the adjusted posts
"Adequate slope is essential to prevent water stagnation and prolong the durability of your composite deck." - Magasin de Patio
Step 5: Cut and Finalize the Height of Your Posts
Once all subtractions and the slope are incorporated, mark the cut line on your support posts using chalk. Cut with an appropriate saw and re-check the horizontal level of the beam before final assembly. This rigor guarantees a perfectly flat structure, ready to receive Fiberon, TimberTech, Trex, or TruNorth deck boards.
Conclusion and Next Steps
You are now ready to install the beam of your composite deck at the exact height and with the appropriate slope for a durable outdoor living space in Quebec. For professional results and to discover our collections of Fiberon, TimberTech, Trex, and TruNorth boards, do not hesitate to consult our experts.