How to Effectively Frame Your Composite Deck Around a Cantilevered Bay Window
Technical note: Installation details vary by municipality, product line, board profile, fastening system, loads, and site conditions. Use this article as general guidance only; confirm the final design with your local building department, the manufacturer's current installation guide, and a qualified contractor or engineer when structural loads are involved.
Many homeowners in Quebec face the challenge of integrating a cantilevered bay window into their composite deck project. Without an adequate support solution, the stability and longevity of your outdoor living space can be compromised. Fortunately, there's a simple and minimally invasive method to frame this structure: installing an "H" frame.
1. Checking the Existing Structure
Before beginning any work, it's essential to confirm the nature of your bay window's support:
- Plan Inspection: Consult construction plans or the framing register, especially if you have access to an unfinished basement.
- Visual Examination: If possible, observe the framing directly. A bay window that is simply abutted is not designed to support additional load.
In the absence of continuous floor joists, opt for an "H" frame to transfer loads to a solid part of the house without damaging the existing wall.
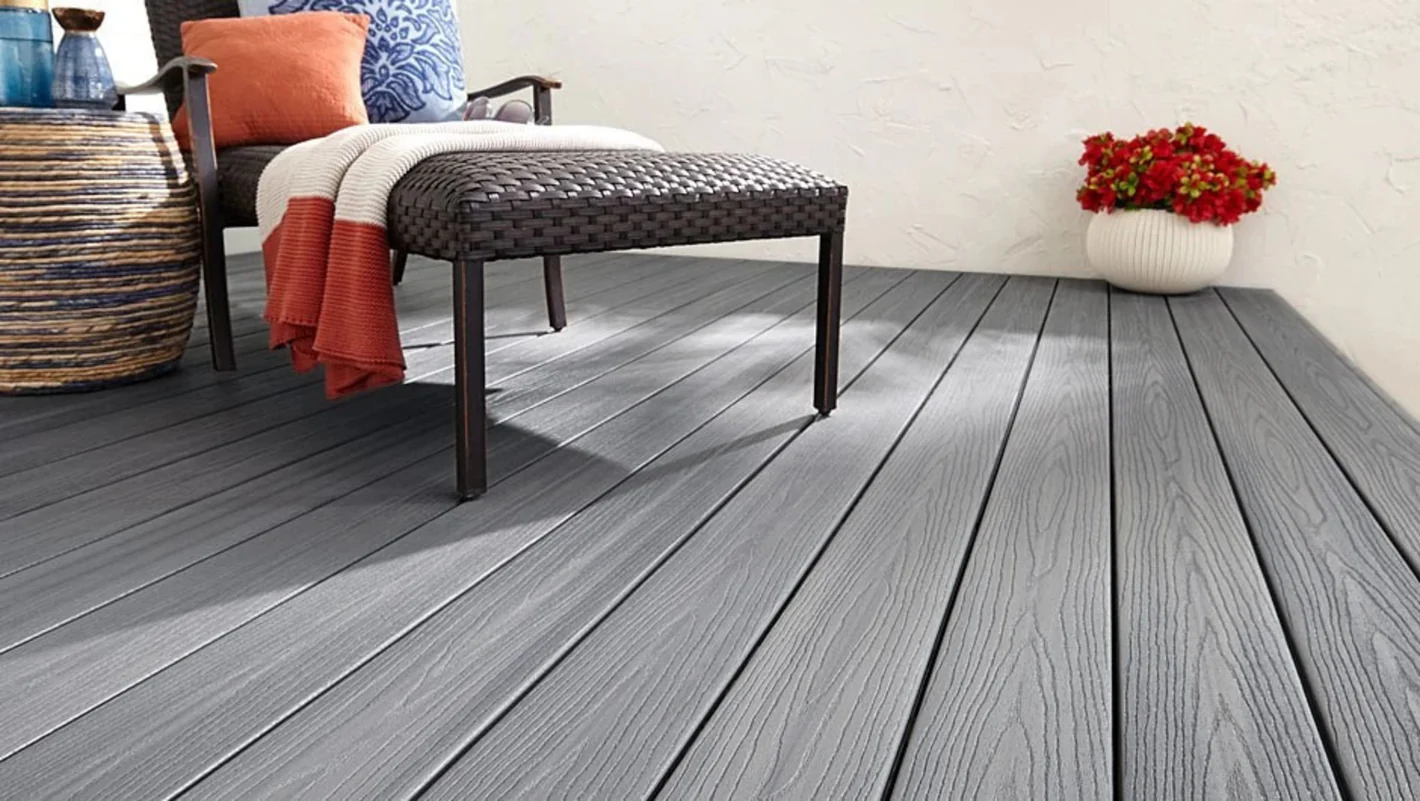
2. Advantages of a Composite Deck
Using composite decking from renowned brands like Fiberon, TimberTech, Trex, or TruNorth ensures optimal performance:
- Durability: Resistance to weather and water infiltration.
- Minimal Maintenance: No need for sanding or treating like traditional wood.
- Aesthetics: Available in various shades (Weathered Teak, Ridged Mahogany, Rustic Pecan, etc.).
"An H-frame is the least invasive and most solid solution for supporting a cantilevered bay window" - Magasin de Patio
3. Steps for Building the H-Frame
The method involves installing three structural wood beams to redistribute the load:
- Perpendicular Beams: Attach two beams (3-2x10) perpendicular to the main wall, on each side of the bay window.
- Front Beam: Place a third beam between the previous two, directly in front of the bay window.
- Fastening: Use metal connectors (joist hangers) and structural screws suitable for floor joists.
This system redirects the load from the composite deck surface to the two perpendicular beams, then to a solid part of the building.
4. Tips for Flawless Installation
Follow these recommendations to ensure the longevity of your outdoor living space:
- Check Levels: Ensure the beams are perfectly level before fastening.
- Material Selection: Prioritize quality treated wood joists or composite joists compatible with Fiberon, TimberTech, Trex, and TruNorth.
- Foundation depth: if adding posts, confirm footing depth with the municipality, soil conditions, frost depth, and approved plan.
5. Finishing and Decking Installation
Once the structure is in place:
- Joist installation: spacing according to board profile, orientation, intended loads, and the manufacturer guide.
- Composite Decking Fastening: Follow manufacturer recommendations (hidden clips, stainless steel screws).
- Finishing touches: add stair nosing, trim boards, and a certified railing system that follows the selected system, local code, and approved plan.
6. Integration into Your Outdoor Space in Quebec
Your new composite deck framed around the bay window becomes an ideal focal point for:
- Family Dinners: Enjoy a comfortable patio, resistant to the harsh Quebec winters.
- Relaxation Moments: Create a lounge area near the bay window to admire the garden.
- Outdoor Events: Provide a welcoming space to host guests on sunny days.
Ready to Transform Your Outdoor Space?
Our team of experts in composite decking and patios in Quebec supports you from design to installation. We exclusively use premium Fiberon, TimberTech, Trex, and TruNorth materials to guarantee a durable and aesthetic result.